
ALINE-SET Instructions
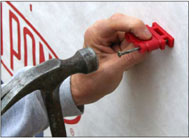
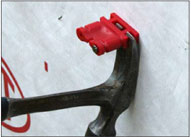
1. Nail ALINE-SETs to opposite ends of projects to be straightened using one or two nails.
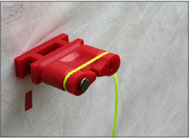
2. Tie your line to the first ALINE-SET using a simple loop with slip knot.
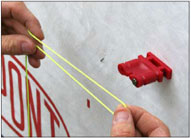
3. Loop the line at the opposite end.
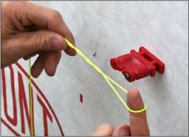
4. Twist the loop two to three times.
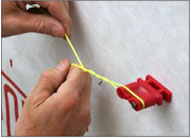
5. Place the twisted loop over the second ALINE-SET. Pull and feed the line around the ALINE-SET until tight.
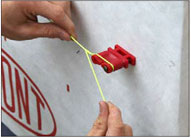
6. After your line is tight, pull the loose end of line back past the ALINE-SET.
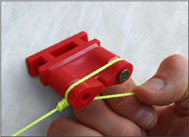
7. A properly cinched line should look like the photo above.
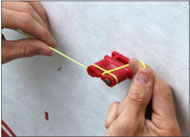
8. Finish by pulling your line into the notch for a strong hold and tight line.
9. Finish by pulling your line into the notch for a strong hold and tight line.


